Cricut Hub
How to Convert PNG to SVG for Cricut (Beginner-Friendly Guide)
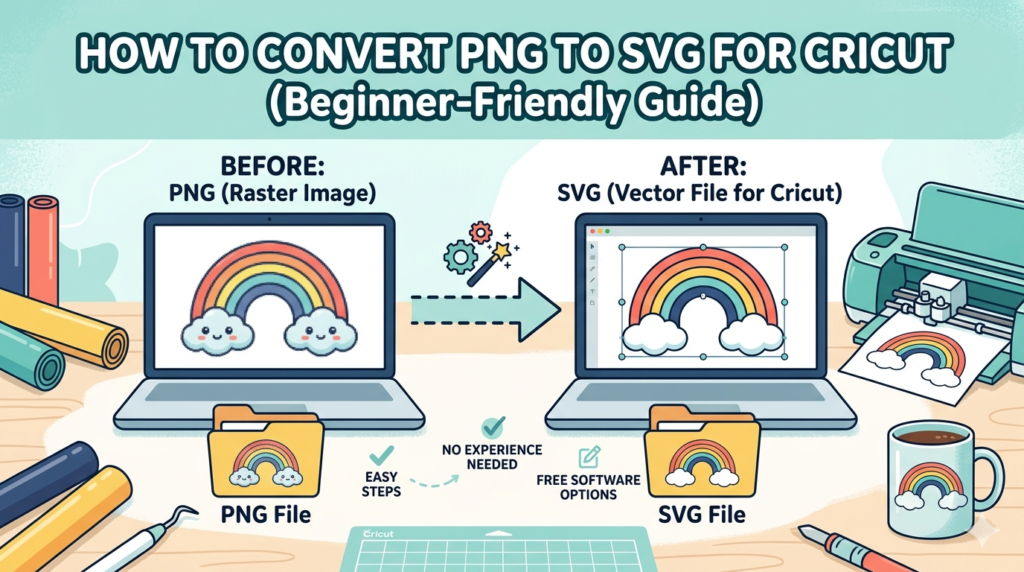
Why You Need SVG Files for Cricut
If you’re using a Cricut machine, SVG files are the best format for cutting vinyl, paper, and other materials. Unlike PNG images, SVG files are vector-based, meaning they stay sharp and smooth at any size.
When you convert PNG to SVG, you transform a flat image into a scalable design that Cricut machines can cut precisely.
Step-by-Step: Convert PNG to SVG
Follow these simple steps:
Step 1 — Open the Converter
Go to your converter page:
👉 https://cutfilesacademy.com/cricut-file-converter/
Step 2 — Upload Your PNG
Click:
Choose File
Select your PNG or JPG image.
Best results come from:
- High contrast images
- Clear shapes
- Minimal background noise
Step 3 — Adjust Conversion Settings
Recommended beginner settings:
Colors: 2–4
Detail: Medium
Smoothing: Medium
These values create clean cut lines.
Step 4 — Convert
Click:
Convert to SVG
You will see a preview instantly.
Step 5 — Download and Upload to Cricut
Download your SVG file.
Then:
- Open Cricut Design Space
- Click Upload
- Select your SVG
- Insert into canvas
Your file is ready to cut.
Beginner Tips for Better SVG Files
✔ Use black-and-white images
✔ Avoid blurry pictures
✔ Keep designs simple
✔ Remove backgrounds before converting
These steps improve cutting quality significantly.