Turn Your Creativity into Profit with This Step-By-Step Guide to Starting a Small Business Using Your Cricut Machine!
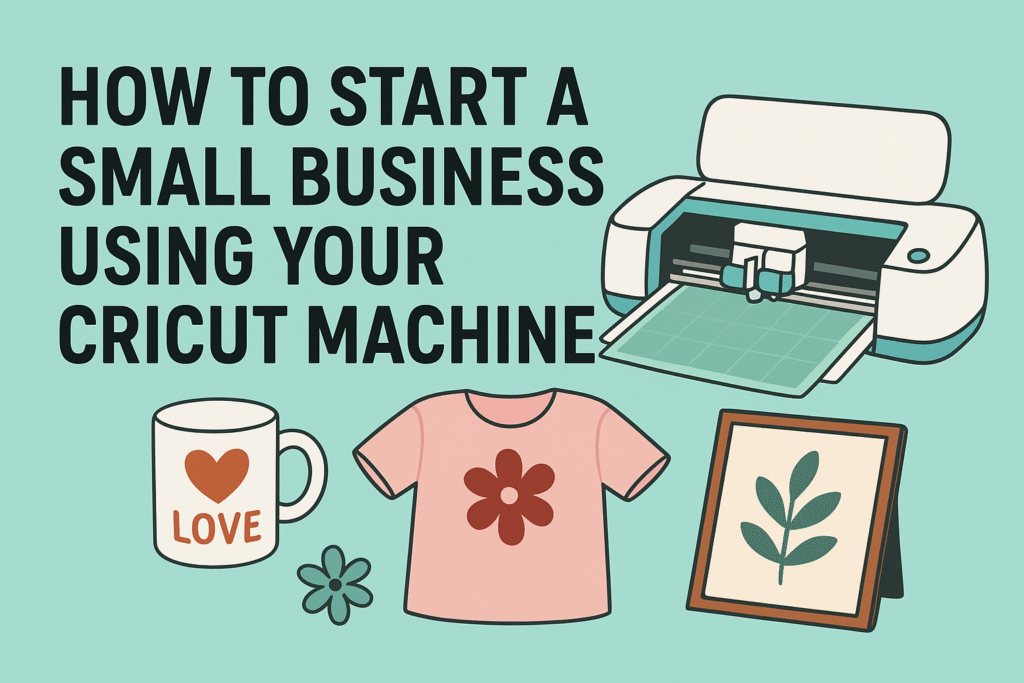
Are you looking to transform your passion for crafting into a profitable business? With a Cricut machine, you can create custom products that people love—from personalized gifts to stylish home decor. In this guide, we’ll walk you through everything you need to know to start a small business using your Cricut. Discover tips on choosing the best projects, managing costs, and finding the right SVG graphics to make your products stand out. Get ready to turn your creativity into income and launch a successful Cricut-based business!
The Cricut machine has transformed the way people craft, enabling even beginners to create beautiful, customized products from home. If you’ve been thinking about turning your Cricut hobby into a business, you’re not alone. With some preparation, you can create a profitable small business from your crafts, all from the comfort of your home. Let’s dive into the essential steps for starting a successful Cricut business.
Why Start a Business with a Cricut Machine?
Cricut machines are versatile and allow users to create a wide range of personalized products, from custom apparel to home decor. These machines enable small business owners to produce professional-quality goods without large overhead costs, making it a great choice for starting a business with minimal investment.
Getting Started with Cricut Business Basics
Before launching your Cricut business, let’s look at the key steps to getting started effectively.
Choosing Your Niche
Selecting a niche is essential for differentiating your products. Think about what excites you and what sells well. Consider products like personalized clothing, home decor, or custom gifts. Starting with a clear niche makes it easier to build a cohesive brand.
Investing in Necessary Materials and Tools
The right tools make all the difference in creating high-quality products. In addition to your Cricut machine, invest in high-quality vinyl, transfer tape, iron-on materials, and specialty paper. Having multiple mats and extra blades can help maintain efficiency.
Setting Up a Workspace
A designated workspace helps keep things organized and boosts productivity. Set up a table with enough space for your Cricut machine, cutting mats, and supplies. A well-organized area makes it easier to work on multiple projects without stress.
Popular Cricut Business Ideas
Here are some of the most popular Cricut business ideas that can help inspire your own startup.
1. Customized T-Shirts and Apparel
Creating custom T-shirts, hoodies, and hats is one of the most popular Cricut business ideas. With a heat press and iron-on vinyl, you can create apparel with personalized designs, names, quotes, and graphics.
2. Personalized Drinkware and Kitchen Accessories
Tumblers, mugs, and water bottles can all be customized with permanent vinyl. These items are great for weddings, birthdays, and corporate gifts. Customized kitchen accessories, like cutting boards and aprons, are also highly sought after.
3. Customized Home Decor
From wall decals to throw pillows, Cricut machines can be used to create personalized home decor items that appeal to a wide range of customers. These products make perfect housewarming gifts and can be tailored to fit any style.
4. Paper Crafts and Stationery
Use your Cricut to make beautiful greeting cards, gift tags, wedding invitations, and party decorations. Paper crafts are affordable to produce and can be made in bulk, making them a great option for seasonal items and special events.
5. Customized Gifts for Special Occasions
Create unique, personalized gifts for birthdays, weddings, graduations, and other special events. Popular items include monogrammed keychains, engraved jewelry, custom ornaments, and gift baskets.
Setting Up an Online Store
To reach customers, setting up an online store is essential. Here are some tips to help you get started.
Choosing a Selling Platform
Platforms like Etsy, Shopify, and Amazon Handmade are popular for Cricut businesses. Each platform has different fees, customer bases, and features, so choose one that aligns with your business goals.
Creating High-Quality Product Listings
Good photos and descriptions make a big difference in sales. Use high-resolution images and provide detailed descriptions that highlight the features, materials, and customization options available.
Pricing Your Products Effectively
Price your items to cover material costs, time, and platform fees while staying competitive. Research similar products to find a balance between value and profitability.
Promoting Your Cricut Business
Marketing your Cricut business is key to growth. Here are a few strategies to promote your products effectively.
Using Social Media Marketing
Platforms like Instagram, Pinterest, and Facebook are great for showcasing your products. Post high-quality images, engage with followers, and consider running ads to reach a broader audience.
Building an Engaging Brand
Create a memorable brand name, logo, and style that reflect your niche. Consistent branding builds trust and recognition, making customers more likely to buy from you.
Utilizing Word of Mouth and Local Events
Tell friends and family about your business and offer referral discounts. Attend local craft fairs and markets to showcase your products and network with potential customers.
Managing Your Cricut Business Efficiently
Running a business requires organization. Here are some tips for managing orders and staying efficient.
Time Management Tips
Create a schedule that includes time for crafting, marketing, and order fulfillment. Setting specific work hours helps you stay on track and meet customer expectations.
Tracking Inventory and Supplies
Keep an inventory of your materials and regularly restock to avoid delays in fulfilling orders. Use software or a spreadsheet to track what you have and what you need.
Keeping Track of Orders and Customer Feedback
Stay organized by tracking each order’s status. Maintain communication with customers, ask for feedback, and use it to improve your products and service.
FAQs
Q1: What’s the best Cricut machine for a small business?
A: The Cricut Maker or Explore series are excellent for business use, offering versatility for various materials and projects.
Q2: Can I make a profit selling Cricut-made products?
A: Yes, with effective pricing and marketing, many people turn Cricut crafting into a profitable business.
Q3: Do I need a heat press for custom apparel?
A: While you can use a household iron, a heat press provides consistent heat and pressure for more professional results.
Q4: How much should I invest to start a Cricut business?
A: Initial costs can vary, but investing in a Cricut machine, materials, and a few tools typically starts at a few hundred dollars.
Q5: How can I find customers for my Cricut business?
A: Start by promoting on social media, listing items on online marketplaces, and networking at local events.
Starting a Cricut business can be both fun and rewarding. By focusing on a niche, creating high-quality products, and promoting your work effectively, you can turn your creative passion into a profitable business.


